Sin resumen de edición |
Sin resumen de edición |
||
| (No se muestran 18 ediciones intermedias de 3 usuarios) | |||
| Línea 18: | Línea 18: | ||
==Dragones Ancianos de la 2ª Generación== |
==Dragones Ancianos de la 2ª Generación== |
||
{| style="text-align:center;" align="center" border="0" cellpadding="5" cellspacing="5" |
{| style="text-align:center;" align="center" border="0" cellpadding="5" cellspacing="5" |
||
| − | | style="background-color:#DACFBA;" width="80px" | [[Archivo: |
+ | | style="background-color:#DACFBA;" width="80px" | [[Archivo:MHW-Render_Teostra.png|170px|link=Teostra]]<font size="2px">[[Teostra]] </font> |
| − | | style="background-color:#DACFBA;" width="80px" |[[Archivo: |
+ | | style="background-color:#DACFBA;" width="80px" |[[Archivo:MHW-Render Lunastra.png|170px|link=Lunastra]]<font size="2px">[[Lunastra]] </font> |
| style="background-color:#DACFBA;" width="80px" | [[Archivo:MH4U-Render Chameleos.png|170px|link=Chameleos]]<font size="2px">[[Chameleos]] </font> |
| style="background-color:#DACFBA;" width="80px" | [[Archivo:MH4U-Render Chameleos.png|170px|link=Chameleos]]<font size="2px">[[Chameleos]] </font> |
||
|- |
|- |
||
| − | | style="background-color:#DACFBA;" width="80px" | [[Archivo: |
+ | | style="background-color:#DACFBA;" width="80px" | [[Archivo:MHW-Render Kushala_Daora.png|170px|link=Kushala Daora]]<font size="2px">[[Kushala Daora]] </font> |
| style="background-color:#DACFBA;" width="80px" | [[Archivo:MH4U-Render_Kushala_Daora_Oxidado.png|170px|link=Kushala Daora Oxidado]]<font size="2px">[[Kushala Daora Oxidado]] </font> |
| style="background-color:#DACFBA;" width="80px" | [[Archivo:MH4U-Render_Kushala_Daora_Oxidado.png|170px|link=Kushala Daora Oxidado]]<font size="2px">[[Kushala Daora Oxidado]] </font> |
||
| style="background-color:#DACFBA;" width="80px" | [[Archivo:MH2-Render Yama Tsukami 001.png|170px|link=Yama Tsukami]]<font size="2px">[[Yama Tsukami]] </font> |
| style="background-color:#DACFBA;" width="80px" | [[Archivo:MH2-Render Yama Tsukami 001.png|170px|link=Yama Tsukami]]<font size="2px">[[Yama Tsukami]] </font> |
||
|} |
|} |
||
{| style="text-align:center;" align="center" border="0" cellpadding="8" cellspacing="5" |
{| style="text-align:center;" align="center" border="0" cellpadding="8" cellspacing="5" |
||
| − | | style="background-color:#DACFBA;" width="80px" | [[ |
+ | | style="background-color:#DACFBA;" width="80px" | [[File:MH15th-White Fatalis Render 001.png|thumb|220x220px]][[Fatalis Blanco]] |
|} |
|} |
||
| Línea 34: | Línea 34: | ||
| style="background-color:#DACFBA;" width="80px" |[[Archivo:MH3-Render Ceadeus 001.png|170px|link=Ceadeus]]<font size="2px">[[Ceadeus]] </font> |
| style="background-color:#DACFBA;" width="80px" |[[Archivo:MH3-Render Ceadeus 001.png|170px|link=Ceadeus]]<font size="2px">[[Ceadeus]] </font> |
||
| style="background-color:#DACFBA;" width="80px" | [[Archivo:MH3U-Render Ceadeus_Barba Dorada.png|170px|link=Ceadeus Barba Dorada]]<font size="2px">[[Ceadeus Barba Dorada]] </font> |
| style="background-color:#DACFBA;" width="80px" | [[Archivo:MH3U-Render Ceadeus_Barba Dorada.png|170px|link=Ceadeus Barba Dorada]]<font size="2px">[[Ceadeus Barba Dorada]] </font> |
||
| − | | style="background-color:#DACFBA;" width="80px" | [[ |
+ | | style="background-color:#DACFBA;" width="80px" | [[File:MHWI-Render Alatreon.png|thumb|184x184px]][[Alatreon]] |
|- |
|- |
||
| style="background-color:#DACFBA;" width="80px" | [[Archivo:MH3-Render Jhen Mohran.png|170px|link=Jhen Mohran]]<font size="2px">[[Jhen Mohran]] </font> |
| style="background-color:#DACFBA;" width="80px" | [[Archivo:MH3-Render Jhen Mohran.png|170px|link=Jhen Mohran]]<font size="2px">[[Jhen Mohran]] </font> |
||
| Línea 55: | Línea 55: | ||
|} |
|} |
||
{| style="text-align:center;" align="center" border="0" cellpadding="5" cellspacing="5" |
{| style="text-align:center;" align="center" border="0" cellpadding="5" cellspacing="5" |
||
| − | | style="background-color:#DACFBA;" width="80px" | [[Archivo: |
+ | | style="background-color:#DACFBA;" width="80px" | [[Archivo:MHGen-Render Nakarkos 002.png|230px|link=Nakarkos]]<font size="2px">[[Nakarkos]] </font> |
| − | | style="background-color:#DACFBA;" width="80px" | [[Archivo: |
+ | | style="background-color:#DACFBA;" width="80px" | [[Archivo:MHGU-Render Valstrax 001.png|170px|link=Nakarkos]]<font size="2px">[[Valstrax]] </font> |
|} |
|} |
||
| Línea 64: | Línea 64: | ||
| style="background-color:#DACFBA;" width="80px" |[[Archivo:MHW-Render_Zorah Magdaros_001.png|180px|link=Zorah Magdaros]]<font size="2px">[[Zorah Magdaros]] </font> |
| style="background-color:#DACFBA;" width="80px" |[[Archivo:MHW-Render_Zorah Magdaros_001.png|180px|link=Zorah Magdaros]]<font size="2px">[[Zorah Magdaros]] </font> |
||
| style="background-color:#DACFBA;" width="80px" |[[Archivo:MHW-Render_Vaal Hazak.png|180px|link=Vaal Hazak]]<font size="2px">[[Vaal Hazak]] </font> |
| style="background-color:#DACFBA;" width="80px" |[[Archivo:MHW-Render_Vaal Hazak.png|180px|link=Vaal Hazak]]<font size="2px">[[Vaal Hazak]] </font> |
||
| − | | |
+ | |- |
| ⚫ | |||
| style="background-color:#DACFBA;" width="80px" |[[Archivo:MHW-Render_Kulve_Taroth.png|150px|link=Kulve Taroth]]<font size="2px">[[Kulve Taroth]] </font> |
| style="background-color:#DACFBA;" width="80px" |[[Archivo:MHW-Render_Kulve_Taroth.png|150px|link=Kulve Taroth]]<font size="2px">[[Kulve Taroth]] </font> |
||
| − | | style="background-color:#DACFBA;" width="80px" |[[Archivo:MHW-Xeno'jiiva |
+ | | style="background-color:#DACFBA;" width="80px" |[[Archivo:MHW-Render Xeno'jiiva.png|170px|link=Xeno'jiiva]]<font size="2px">[[Xeno'jiiva]] </font> |
| ⚫ | |||
| + | |- |
||
| ⚫ | |||
| + | | style="background-color:#DACFBA;" width="80px" |[[Archivo:MHWI-Render Nergigante Regio.png|170px|link=Nergigante Regio]]<font size="2px">[[Nergigante Regio]] </font> |
||
| + | | style="background-color:#DACFBA;" width="80px" |[[Archivo:MHWI-Render Vaal Hazak Espóreo.png|170px|link=Vaal Hazak Espóreo]]<font size="2px">[[Vaal Hazak Espóreo]] </font> |
||
| + | |- |
||
| + | | style="background-color:#DACFBA;" width="80px" |[[Archivo:MHWI-Render Shara Ishvalda 001.png|170px|link=Shara Ishvalda]]<font size="2px">[[Shara Ishvalda]] </font> |
||
| + | | style="background-color:#DACFBA;" width="80px" | [[Archivo:MHWI-Render Velkhana 001.png|170px|link=Velkhana]]<font size="2px">[[Velkhana]] </font> |
||
| + | | style="background-color:#DACFBA;" width="80px" | [[Archivo:MHWI-Render Safi'jiiva.png|170px|link=Safi'jiiva]]<font size="2px">[[Safi'jiiva]] </font> |
||
|} |
|} |
||
| Línea 79: | Línea 87: | ||
| style="background-color:#DACFBA;" width="80px" |[[Archivo:MHFG-Render Garuba_Daora 001.png|150x150px|link=Garuba Daora]]<font size="2px">[[Garuba Daora]] </font> |
| style="background-color:#DACFBA;" width="80px" |[[Archivo:MHFG-Render Garuba_Daora 001.png|150x150px|link=Garuba Daora]]<font size="2px">[[Garuba Daora]] </font> |
||
| style="background-color:#DACFBA;" width="80px" | [[Archivo:MHFG-Render Inagami 001.png|150x150px|link=Inagami]]<font size="2px">[[Inagami]] </font> |
| style="background-color:#DACFBA;" width="80px" | [[Archivo:MHFG-Render Inagami 001.png|150x150px|link=Inagami]]<font size="2px">[[Inagami]] </font> |
||
| + | | style="background-color:#DACFBA;" width="80px" | [[Archivo:MHFZ-Render Inagami Zenit.png|150x150px|link=Inagami Zenit]]<font size="2px">[[Inagami Zenit]] </font> |
||
| style="background-color:#DACFBA;" width="80px" | [[Archivo:MHFG-Render Disufiroa 002.png|150x150px|link=Disufiroa]]<font size="2px">[[Disufiroa]] </font> |
| style="background-color:#DACFBA;" width="80px" | [[Archivo:MHFG-Render Disufiroa 002.png|150x150px|link=Disufiroa]]<font size="2px">[[Disufiroa]] </font> |
||
| ⚫ | |||
|- |
|- |
||
| − | | style="background-color:#DACFBA;" width="80px" | [[Archivo:MHFG-Render |
+ | | style="background-color:#DACFBA;" width="80px" | [[Archivo:MHFG-Render Harudomerugu 001.png|150x150px|link=Harudomerugu]]<font size="2px">[[Harudomerugu]] </font> |
| + | | style="background-color:#DACFBA;" width="80px" | [[Archivo:MHFZ-Render Harudomerugu Zenit.png|150x150px|link=Harudomerugu Zenit]]<font size="2px">[[Harudomerugu Zenit]] </font> |
||
| style="background-color:#DACFBA;" width="80px" | [[Archivo:MHFG-Render Toa Tesukatora 001.png|150x150px|link=Toa Tesukatora]]<font size="2px">[[Toa Tesukatora]] </font> |
| style="background-color:#DACFBA;" width="80px" | [[Archivo:MHFG-Render Toa Tesukatora 001.png|150x150px|link=Toa Tesukatora]]<font size="2px">[[Toa Tesukatora]] </font> |
||
| style="background-color:#DACFBA;" width="80px" | [[Archivo:MHFG-Render Guanzorumu 001.png|150x150px|link=Guanzorumu]]<font size="2px">[[Guanzorumu]] </font> |
| style="background-color:#DACFBA;" width="80px" | [[Archivo:MHFG-Render Guanzorumu 001.png|150x150px|link=Guanzorumu]]<font size="2px">[[Guanzorumu]] </font> |
||
| ⚫ | |||
|} |
|} |
||
{| style="text-align:center;" align="center" border="0" cellpadding="5" cellspacing="5" |
{| style="text-align:center;" align="center" border="0" cellpadding="5" cellspacing="5" |
||
| + | | style="background-color:#DACFBA;" width="80px" | [[Archivo:MHFG-Render Guanzorumu 001.png|150x150px|link=Guanzorumu]]<font size="2px">[[Guanzorumu]] </font> |
||
| + | | style="background-color:#DACFBA;" width="80px" | [[Archivo:MHFZ-Render Keoaruboru 001.png|150x150px|link=Keoaruboru]]<font size="2px">[[Keoaruboru]] </font> |
||
| style="background-color:#DACFBA;" width="80px" | [[Archivo:MHFZ-Render Eruzerion 001.png|150x150px|link=Eruzerion]]<font size="2px">[[Eruzerion]] </font> |
| style="background-color:#DACFBA;" width="80px" | [[Archivo:MHFZ-Render Eruzerion 001.png|150x150px|link=Eruzerion]]<font size="2px">[[Eruzerion]] </font> |
||
|} |
|} |
||
| Línea 101: | Línea 111: | ||
{| style="text-align:center;" align="center" border="0" cellpadding="5" cellspacing="5" |
{| style="text-align:center;" align="center" border="0" cellpadding="5" cellspacing="5" |
||
| style="background-color:#DACFBA;" width="80px" | [[Archivo:MHXR-Render Nef Galmud 002.png|180px|link=Nef Galmud]]<font size="2px">[[Nef Galmud]] </font> |
| style="background-color:#DACFBA;" width="80px" | [[Archivo:MHXR-Render Nef Galmud 002.png|180px|link=Nef Galmud]]<font size="2px">[[Nef Galmud]] </font> |
||
| + | | style="background-color:#DACFBA;" width="80px" | [[Archivo:MHXR-Render Eo Garudia 001.png|180px|link=Eo Garudia]]<font size="2px">[[Eo Garudia]] </font> |
||
| + | | style="background-color:#DACFBA;" width="80px" | [[Archivo:MHXR-Render Morudomunto.png|180px|link=Morudomunto]]<font size="2px">[[Morudomunto]] </font> |
||
| + | |} |
||
| + | |||
| + | ==Dragones Ancianos de MHST== |
||
| ⚫ | |||
| + | | style="background-color:#DACFBA;" width="80px" | [[Archivo:MHST-Verusa Nowa CP001.jpg|180px|link=Versa Pietru]]<font size="2px">[[Versa Pietru]] </font> |
||
| + | | style="background-color:#DACFBA;" width="80px" | [[Archivo:MHST-Makiri Nowa CP001.jpg|180px|link=Makili Pietru]]<font size="2px">[[Makili Pietru]] </font> |
||
|} |
|} |
||
Revisión del 19:42 15 may 2020
Los Dragones Ancianos (古龍種 Koryuushu en japonés) son una clase de monstruos introducida en la Primera Generación y que incluye a los monstruos más poderosos de todo Monster Hunter.
En general, están caracterizados por tener 6 extremidades (un par de alas y dos pares de patas) y poseen apariencia reptiliana, además de un gran control sobre los elementos. A pesar de ello, este grupo también abarca a otros monstruos poderosos y que, por sus características, no entran en ningún otro grupo. Son considerados muy raros, conocidos por leyendas antiguas o relatos. El poder de algunos es tan terrible que han llegado a destruir civilizaciones enteras.
Estos monstruos pueden encontrarse sobre todo en ruinas como castillos o torres, o zonas especiales como la Fortaleza, la Caserna o el Campo de Batalla; sin embargo hay algunos que habitan en bosques, volcanes u otras zonas naturales. También hay otros nómadas que no poseen un hábitat fijo.
Dragones Ancianos de la 1ª Generación
 Fatalis Fatalis
|
 Fatalis Carmesí Fatalis Carmesí
|
 Kirin Kirin
|
 Lao-Shan Lung Lao-Shan Lung
|
 Lao-Shan Lung Gris Lao-Shan Lung Gris
|
Dragones Ancianos de la 2ª Generación
 Teostra Teostra
|
 Lunastra Lunastra
|
 Chameleos Chameleos
|
 Kushala Daora Kushala Daora
|
 Kushala Daora Oxidado Kushala Daora Oxidado
|
 Yama Tsukami Yama Tsukami
|
  |
Dragones Ancianos de la 3ª Generación
 Ceadeus Ceadeus
|
 Ceadeus Barba Dorada Ceadeus Barba Dorada
|
  |
 Jhen Mohran Jhen Mohran
|
 Jhen Mohran Sagrado Jhen Mohran Sagrado
|
 Miralis Funesto Miralis Funesto
|
 Amatsu Amatsu
|
Dragones Ancianos de la 4ª Generación
 Dah'ren Mohran Dah'ren Mohran
|
 Shagaru Magala Shagaru Magala
|
 Kirin Boreal Kirin Boreal
|
 Dalamadur Dalamadur
|
 Zar Dalamadur Zar Dalamadur
|
 Gogmazios Gogmazios
|
 Nakarkos Nakarkos
|
 Valstrax Valstrax
|
Dragones Ancianos de la 5ª Generación
 Nergigante Nergigante
|
 Zorah Magdaros Zorah Magdaros
|
 Vaal Hazak Vaal Hazak
|
 Kulve Taroth Kulve Taroth
|
 Xeno'jiiva Xeno'jiiva
|
 Bégimo Bégimo
|
 Namielle Namielle
|
 Nergigante Regio Nergigante Regio
|
 Vaal Hazak Espóreo Vaal Hazak Espóreo
|
 Shara Ishvalda Shara Ishvalda
|
 Velkhana Velkhana
|
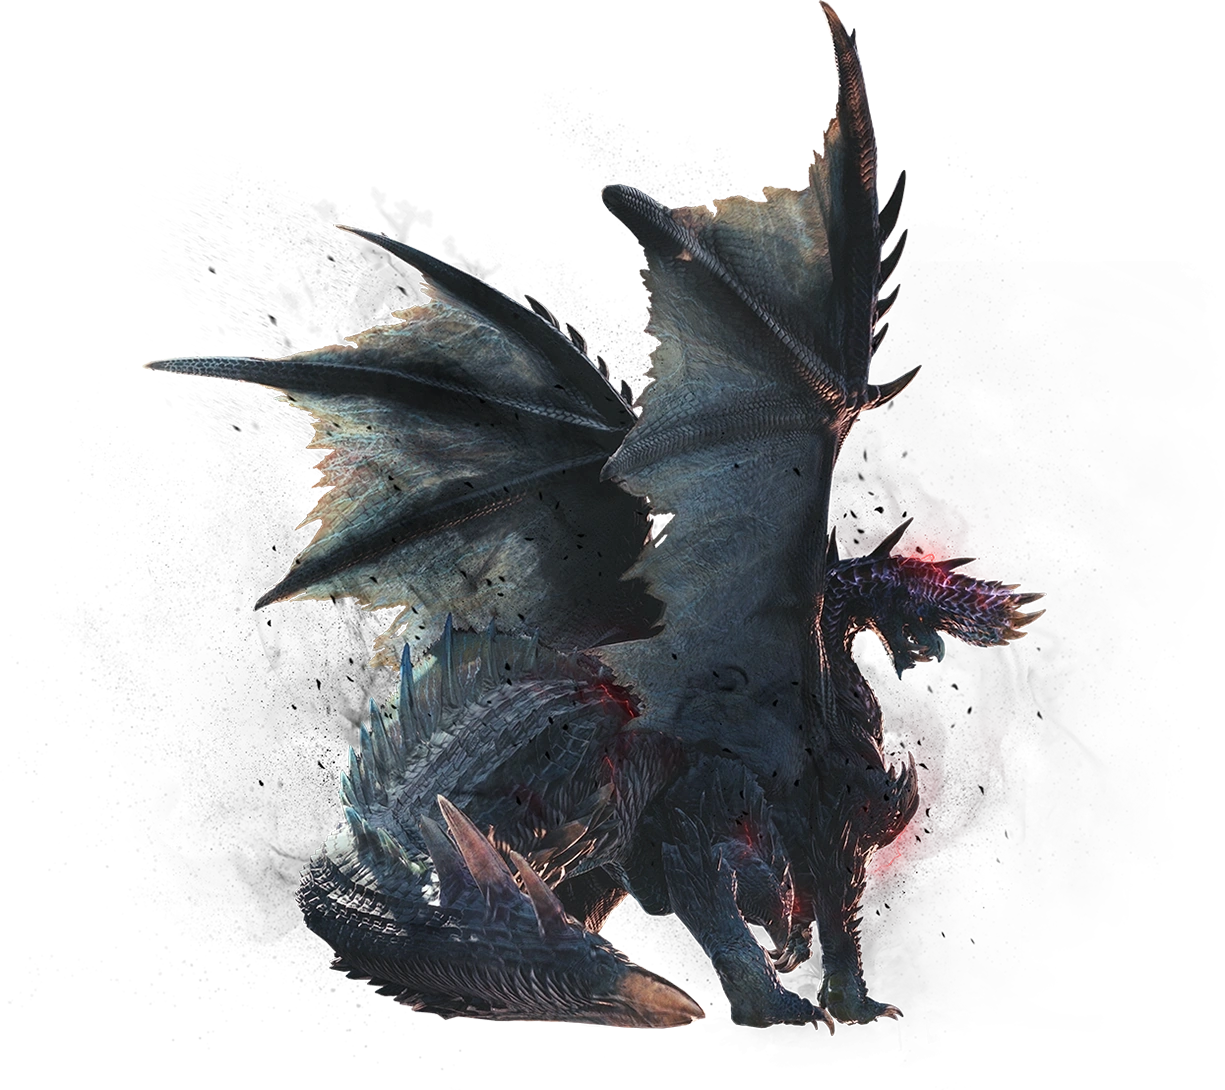
 Safi'jiiva Safi'jiiva
|
Dragones Ancianos de MHFrontier
 Rukodiora Rukodiora
|
 Rukodiora Zenit Rukodiora Zenit
|
 Rebidiora Rebidiora
|
 Shantien Shantien
|
 Garuba Daora Garuba Daora
|
 Inagami Inagami
|
 Inagami Zenit Inagami Zenit
|
 Disufiroa Disufiroa
|
 Harudomerugu Harudomerugu
|
 Harudomerugu Zenit Harudomerugu Zenit
|
 Toa Tesukatora Toa Tesukatora
|
 Guanzorumu Guanzorumu
|
| Guanzorumu
|
 Keoaruboru Keoaruboru
|
 Eruzerion Eruzerion
|
Dragones Ancianos de MHOL
 Tartaronis Tartaronis
|
 Tartaronis Infernal Tartaronis Infernal
|
 Merphistophelin Merphistophelin
|
Dragones Ancianos de MHXR
 Nef Galmud Nef Galmud
|
 Eo Garudia Eo Garudia
|
 Morudomunto Morudomunto
|
Dragones Ancianos de MHST
 Versa Pietru Versa Pietru
|
 Makili Pietru Makili Pietru
|
Dragones Ancianos de MHOrage
 Myo Galuna |